One of the things I frequently see from newer spinners (or spinners just looking to expand their skills) is taking notes. How do I take notes? What do I take notes of? What’s the purpose of it?
I suppose I could be classified as a “technical” spinner (for lack of a better word). I really like to know why a yarn comes out the way it does. I see each yarn as a learning opportunity, and part of that process for me is being able to reflect on the spin when its done, and if I want, to be able to replicate aspects of it in the future (or decide what just didn’t work the way I expected).
That’s where the notes come in.
I will add a caveat here: I know lots of spinners that don’t take notes, and don’t want to start. That is totally fine – we all spin differently. I used to be a very lax note-taker myself, but as my spinning style changed, the desire for me to take specific, detailed notes materialized. I wanted to be able to replicate a yarn if needed, but more importantly, I wanted to look at standalone aspects and really figure out what parts of a spin I could take and transfer to a new spin in order to get the results I wanted. Perhaps even more poignantly – I knew I wouldn’t remember weeks or months down the road what I did.
So if you’re like me, and you love the design of a yarn and all the technical aspects that go into it, this might be the blog post for you. I’m going to use my notes as an example, go over what I record, and why I record the things I do. There is no right and wrong way, just what works for each individual spinner. With this little tutorial, you may find a method that works for you, or hopefully I can help demystify some of those note-taking process if you’re unsure where to start.
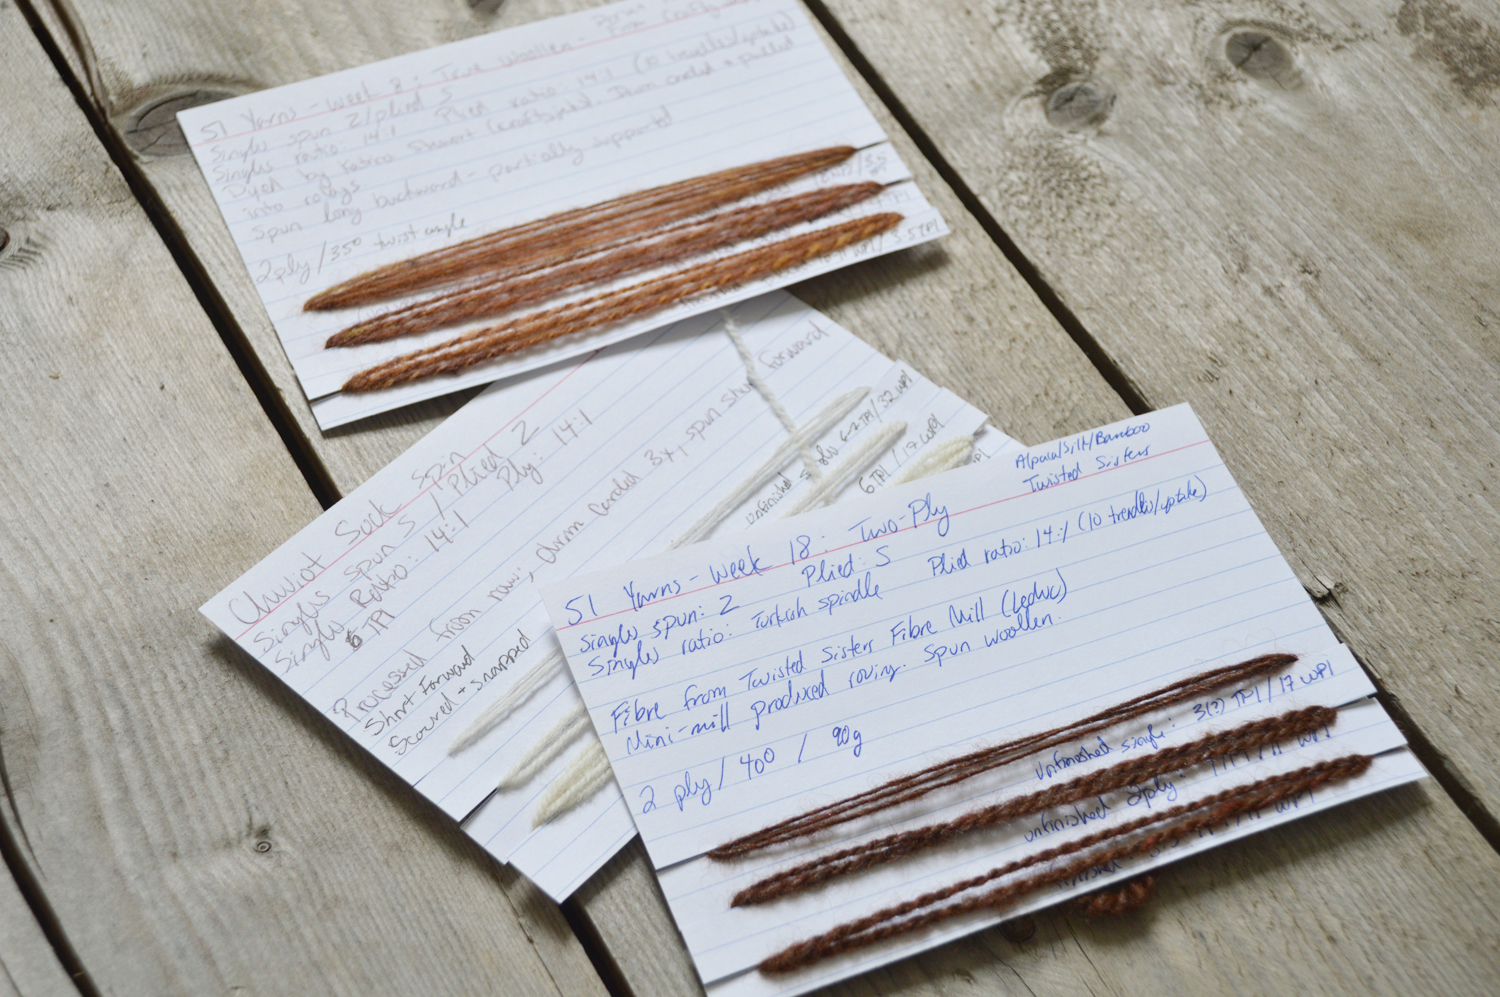
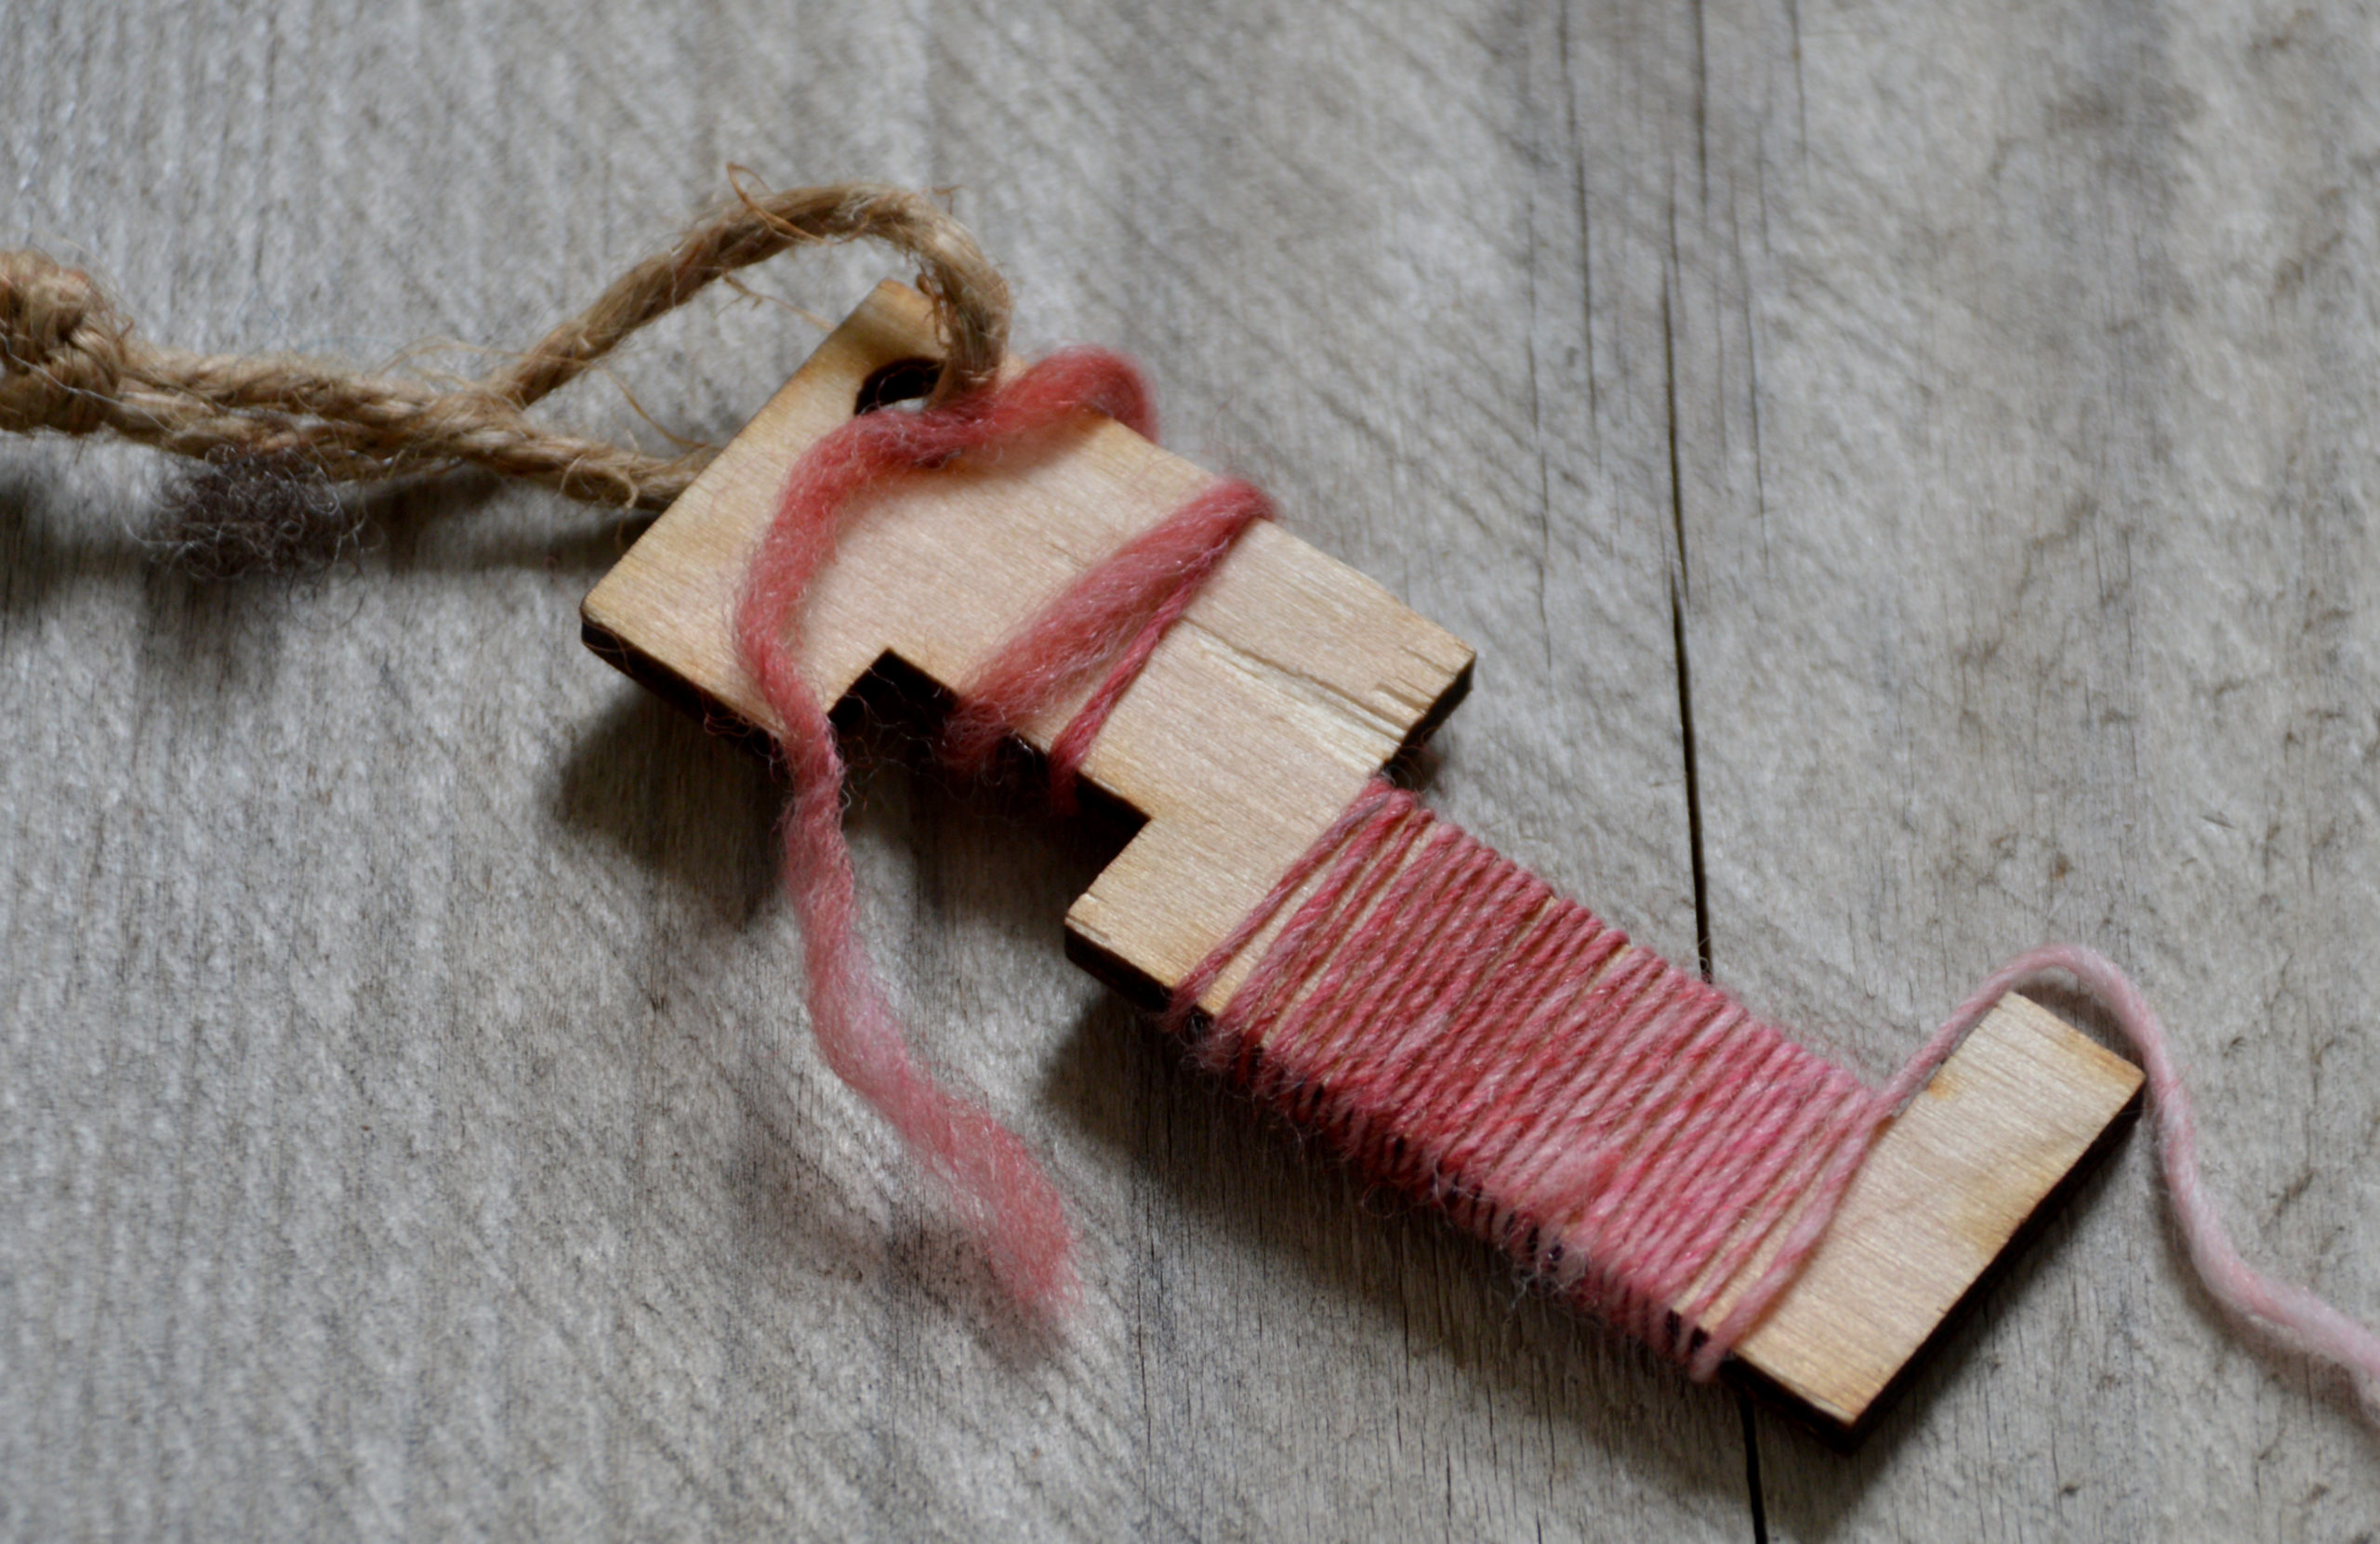
Name of spin, Date, and Fibre Source
I consider these three things the baseline of all my note taking. I like to order stuff chronologically in my book, although I know some spinners will group by weight of finished yarn, or colours, or whatever. Dates are easiest for me, and the name is just something I can refer to it as for myself. Calling a project my Baby the Llama spin let’s me know instantly what it was. I have a Juniper spin (when I spun my Juniper sweater), my hap spin, etc.
Fibre source – since I get my fleeces (or sometimes commercial fibre) from all over the place, this gives me a quick reference of what the fibre is. It also let’s me know the original source of the fibre, so if I’d like to get it again I can easily access that information.
Singles/plied direction
This was one of the very first notes I started taking as a spinner. While about 99% of the time I spin singles in the Z direction (wheel going clockwise) and ply in the S direction (wheel going counter-clockwise), there are a few occasions when I don’t, and this will be the point where I jot that down. It’s also a very handy note if you’re making something more complex – like a cable or boucle yarn, where there are several steps going different directions to make the finished yarn.
Single/plied ratio, and Treadles per Uptake
The single and plied ratios relates to what ratio on the wheel I spun the singles and plied.
The treadles per uptake is a bit of a dark horse, honestly I’m not sure how many spinners use this as a form of “measurement”, and it’s highly dependent on wheel and ratio used (which is why I use both in conjunction). I use a double treadle, so when I say treadles per uptake, I’m counting 2 movements – both feet push down once for each full revolution of the wheel. So, if I say “10 treadles per uptake” it’s 5 full revolutions of the wheel each time I feed the yarn onto the bobbin. I really like copying this down because it gives me a very even ply that I can copy to other projects and I can easily estimate what kind of ply twist I’m going to get. Additionally, in conjunction with the ratio that I used for plying, it gives me a kind of standard that translates easily to other projects, or to matching yarns down the line if I want to add to a spin later on.
As an example, for my spin this year for Tour de Fleece I spun for a hap. A traditional hap is a garter stitch body with a lacy border. For my body spin I gave my yarn a pretty tight ply twist – I wanted the yarn to be bouncy and have some body. But for the lace portion of my spin, I wanted to have a bit less bouncy of a yarn to play into the lace better. So for my main body I had 11 treadles/uptake on a 14:1 ratio. When I went to ply my lace portion I kept my ratio at 14:1, but I used only 9 treadles per uptake (one less full revolution on my wheel). For my body yarn I got a nice, tight 55 degree ply twist, and on my lace yarn I got a gentler 35 degree ply twist.
Now there’s a lot of things to think about if you’re using this measurement – ratio and treadles don’t simply make the yarn (although they can give you a good baseline). My main body wool was a lot bouncier and crimpier than my lace portion, so I knew easing off the treadles slightly would give me a pretty dramatic reduction in ply twist. If I was using the same wool for the border I would have probably gone down ratio and backed off of my treadles/uptake even more to compensate for how bouncy the wool was.
That’s just knowledge and experience – which is why I’m such a big proponant of keeping as many notes as you can during a spin.
Draw
This relates specifically to how I held and drew the fibre while spinning. Short forward, short backward, long draw, and anything in between goes here.
I’ll copy down if my long draw was supported or unsupported (if my left/non-draw hand was touching the fibre at all while I was spinning). I’ll also make a note if I allowed my twist to go into my drafting zone. While my standard spin is a fairly straight forward short forward worsted, I also really like a short backwards while letting the twist into my drafting zone, and this is the spot I make that distinction on my cards.
Ply & Twist Angle
Ply is simple – this is just a note of how many plies went into the finished yarn. Twist angle is the actual angle of the twist of the finished yarn. To get this I use a protractor, lay my finished yarn across it, and see (more or less) which angle it lines up with.
The twist angle is the resulting measurement of all those things like ply ratio, treadles per uptake, WPI and TPI. By adjusting all those different aspects during the spin, the finished ply angle will change. I personally know I like a tight twist as a default (unless I’m doing a yarn specifically for a lace project). So factoring in the wool type and all those different choices I make when creating a yarn will aid me in hitting a ply twist angle I know I’m looking for.
Finishing
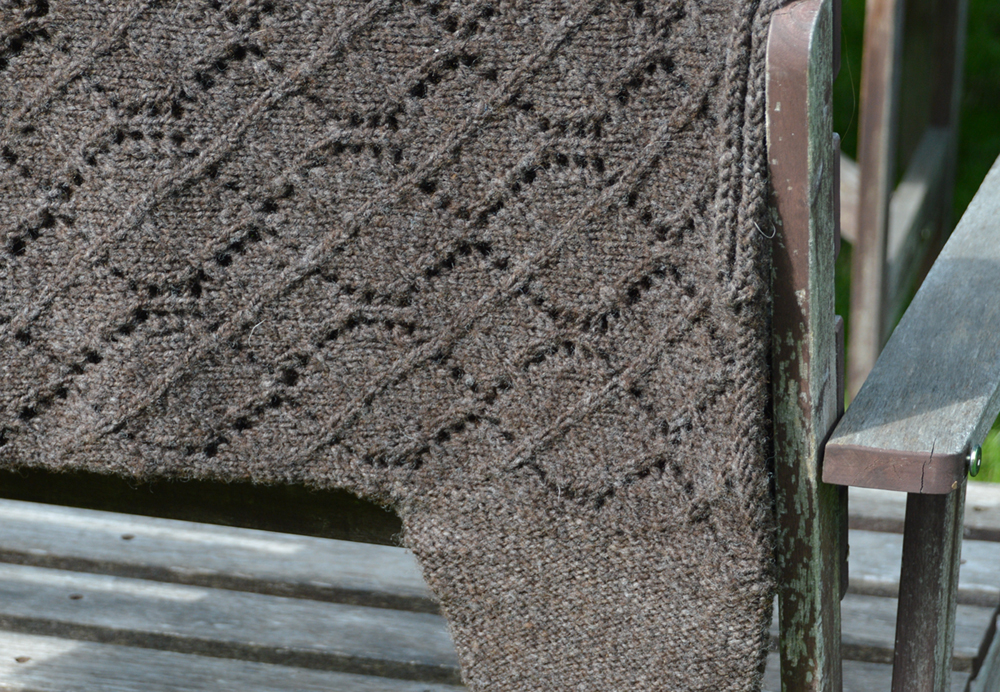
Finishing can drastically change your finished yarn – a yarn that you snap versus heavily beat can vary in weight and hand drastically. If you’re looking to keep notes either just for your own information to see how the different aspects contribute to the resulting yarn, or if you’re looking to be able to re-create a yarn down the line it is extremely important to copy this step down. A snap will leave the fibres relatively undisturbed – which is a great finishing technique for a long wool with lots of lustre. Beating a yarn will make it bloom, which is great for a down wool with a woollen prep.
Colour handling
This is sometimes present and sometimes not – if I’m spinning a natural coloured fleece all the same way, I’ll leave this out. However if I’m spinning a dyed braid, I’ll write down how I split the braid, or any other specific colour handling notes. Some information to keep here would be if it was a fractal spin, end to end, over the fold, etc.
Wraps Per Inch (WPI) & Twists Per Inch (TPI)
These two measurements are probably my most painstakingly recorded, and some of my most oft referred to measurements. I wrote a separate tutorial here about how to take these measurements, and what they’re good for.
- Unfinished singles (WPI/TPI)
- Unfinished plied (WPI/TPI)
- Finished plied (WPI/TPI)
All three of these are the same measurement at a different stage in the yarn’s life. Measuring at the unfinished singles step (when you first begin and are spinning your singles), will give you something to spin to if you are working on a multi-bobbin project, or want to come back and spin the same weight again.
The measurements are take again at the plied, but unfinished stage. I find this particularly helpful so I can estimate what those measurements might be at the end of a project (so the finished yarn). In taking the unfinished and finished twists and wraps per inch will let me extrapolate in future projects how much twist I might want to put into the plying stage in order to achieve a finished yarn with the twist I’m looking for.
Yardage & Grist
Much like the wraps & twists per inch in the finished and unfinished yarns, this allows me to extrapolate how much yardage I may lose during the finishing process. For example, from experience I know that I lose approximately 8% of my yardage if I spin North Country Cheviot (a fibre I spin pretty routinely), so I can factor that into my spin if I’m going for a specific yardage for a spinning project.
After my unfinished yarn has sat for about a day, I take it off the bobbins, put it on the niddy-noddy and count. To take the yardage of my yarn, I count the number strands on one half of the skein. I then multiply that by two (for each half of the skein). I then measure the length of the skein, multiply my strand length, then divide by 36 to get the yardage. So the calculation looks something like this:
- ((number of strands in one half of skein) x 2)) x (length of skein) / 36 = total yardage
Tip: copy down the number of strands so you don’t have to count again after it comes out of the bath in the finishing stage!
Once your skein is all finished and dried, do the calculation again. Don’t forget to remeasure the length of your skein, because that number will have changed. Some yarns will lose less yardage than others – a worsted spun long will snapped dry will lose a lot less yardage than a woollen spun merino that your thwacked.
Additional Notes
This is a spot at the back of my card where I just write down any additional notes. General thoughts about the spin, what I liked, what I didn’t, and what I may change in the future.
If you’re looking for a way to bring your spinning to the next level and don’t already take notes, I highly recommend giving it a try. Having the ability to go back and remember at what you did is not only beneficial in and of itself, but it lets you learn from what you’ve done, and how to take that knowledge to future spins.