So let me start out by saying: I am not an expert. I’m so far from an expert that I can’t even see “expert” far off in the distance, frantically waving its arms yelling “come over here!” Experts in natural dyeing take many years to hone their craft. But on the flip side, you don’t have to be an absolute expert to get good results.
What I am, is somebody who loves to learn things. What I am is somebody who has been tootling around in the kitchen, experimenting with natural dyeing for the past year and a half. What I am is somebody who’s come up with a system that works pretty well for me, and gives me reasonably expected and repeatable results. I would wholeheartedly recommend you read books, search online, and do your own experimentation with what works for you. What I am about to say is my experience and my method, which I know will change over the years as I learn things.
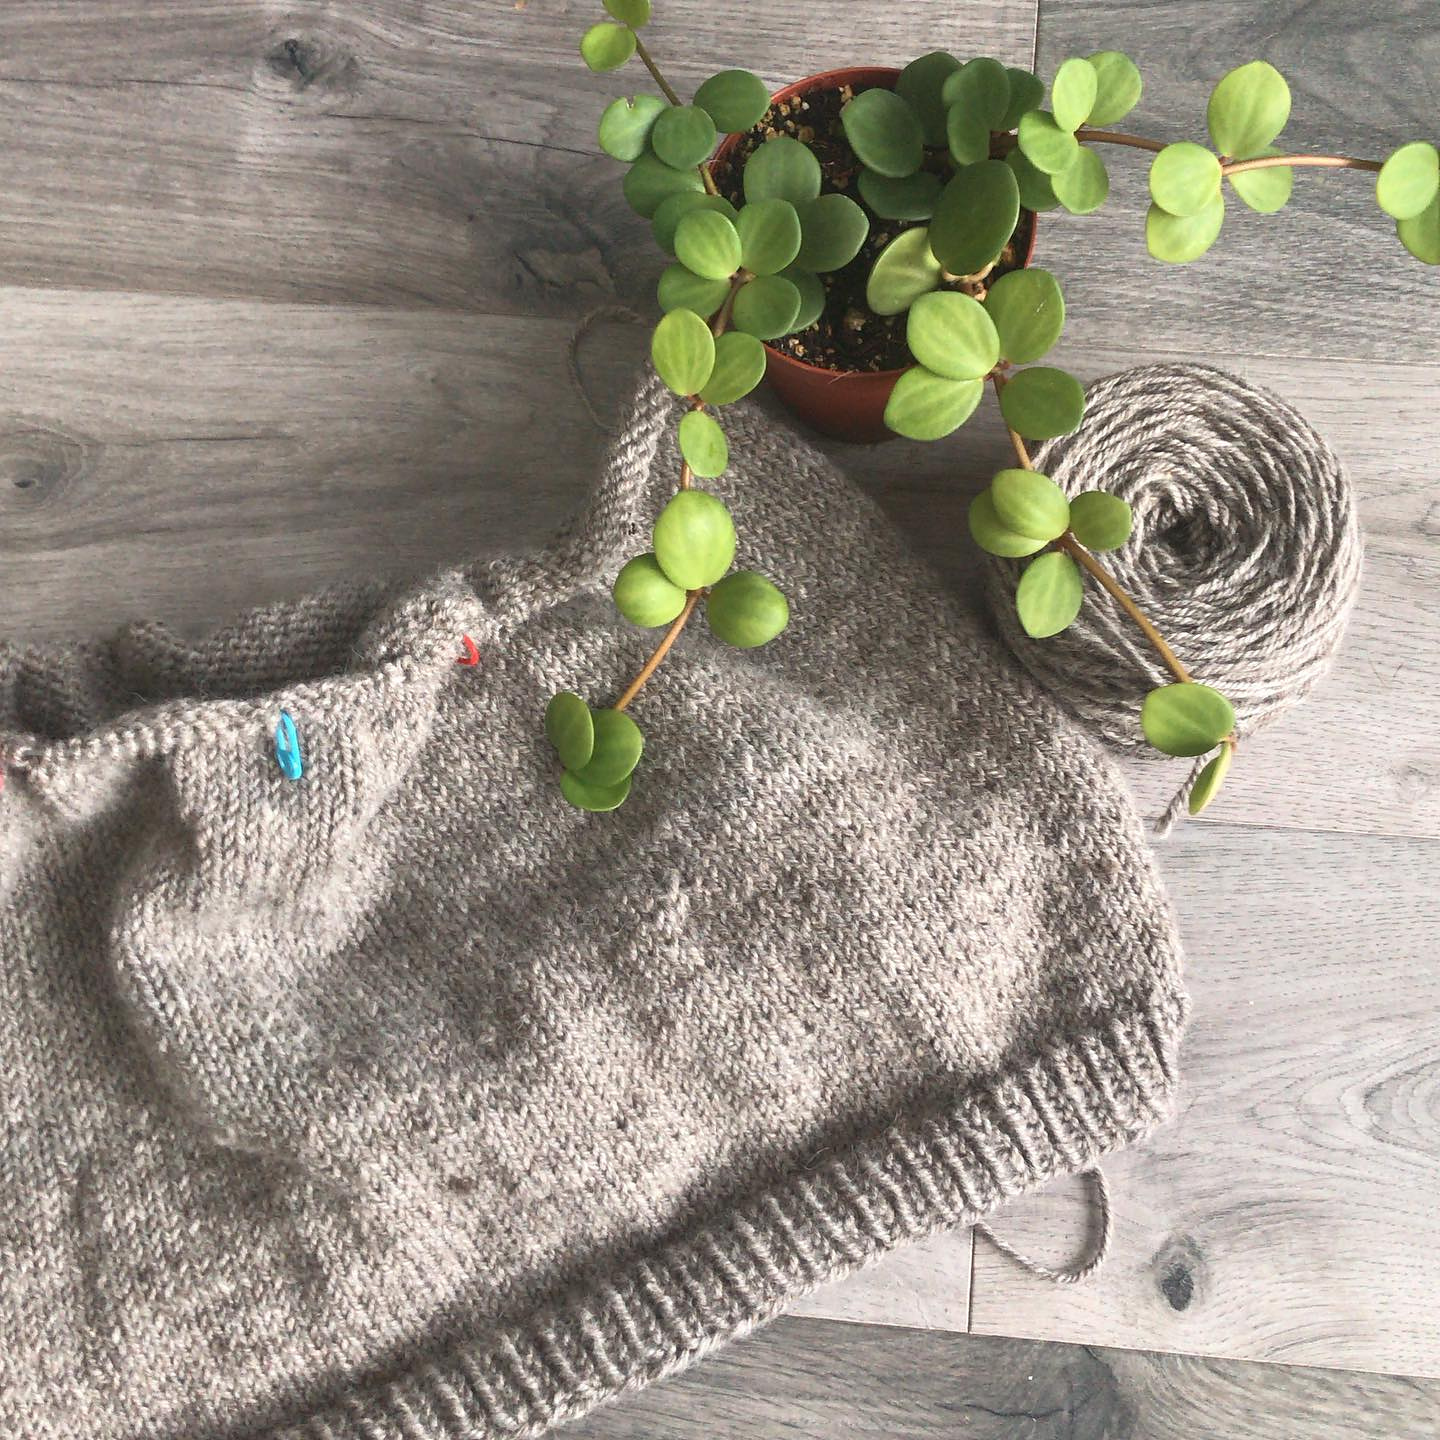
However, as I gear up to release my very first pattern with not only a spinning recipe, but also the steps I used to dye the yarn, I wanted to make something available to you guys so you could see the basic steps I do to dye my skeins. This isn’t a recipe post, but rather a list of steps to follow for those of you who want to try to recreate the yarns I make in my Hand Spun/Hand Knit patterns.
So, now that you’ve been duly warned, here’s my basic steps.
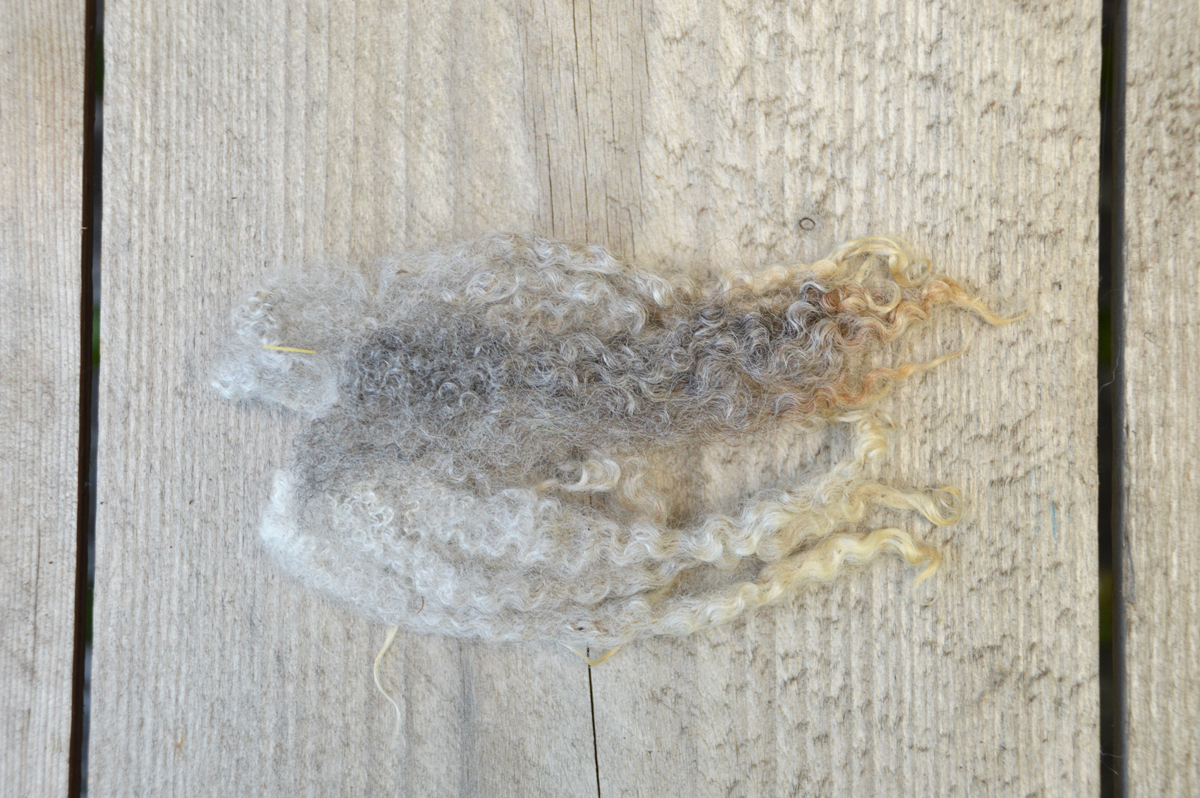
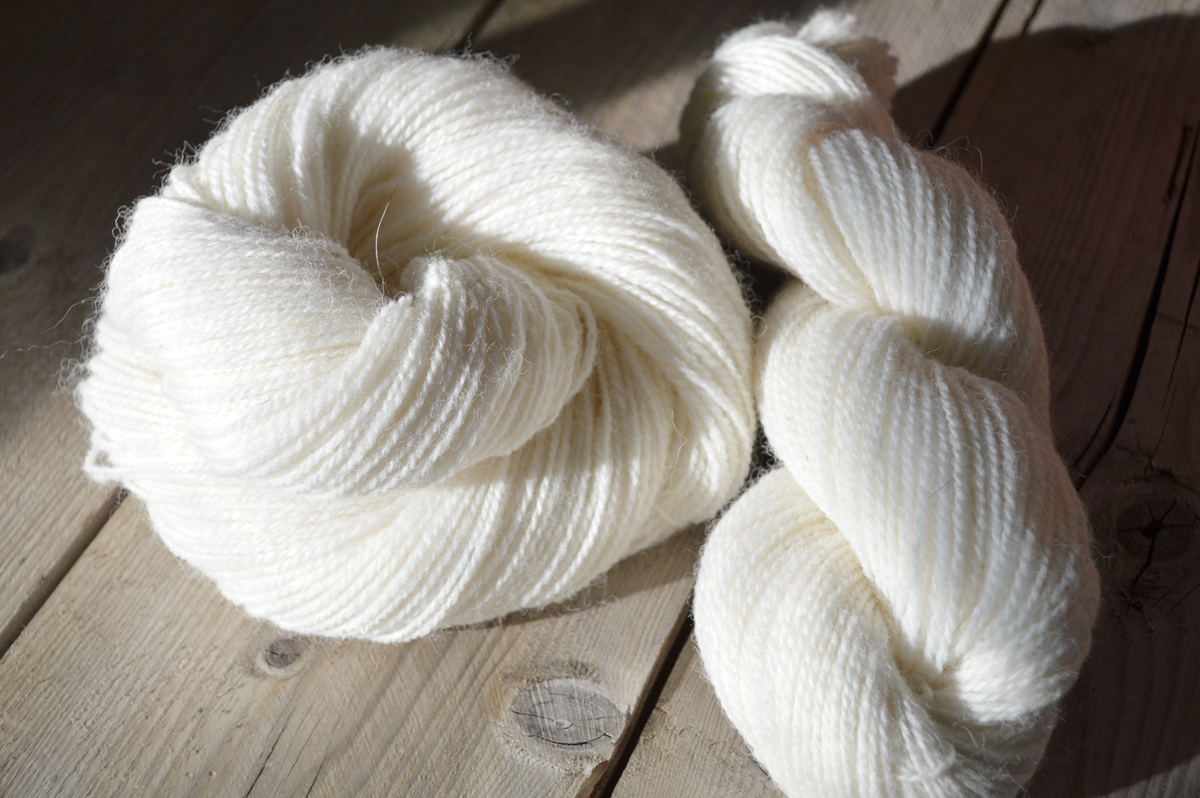
Scouring The Yarn
This is a good step if your fibre still has some lanolin, or if you’re using commercial or milled fibre that may have some dirt/lanolin/oil on it. If you processed the fleece yourself and you’re very confident you don’t have any lanolin or dirt still in the fibre you can skip this step. Otherwise, it’s important for getting an even dye.
-
1. Pre-soak your yarn for approximately 30 min to make sure its saturated.
2. Fill up your pot with water, enough to allow your yarn to not be crowded (this is a given for any of the steps below as well).
3. Add 15 mL (about 1 tbsp) of Orvus Paste to the water for every kilogram of fibre you’re scouring.
4. Bring your pot to a simmer (about 80C), and add your fibre.
5. Allow your fibre to gently simmer for approximately 1 hour, moving gently 2-3 times to make sure all parts of the yarn are exposed.
6. After an hour, remove your yarn and allow to cool. Rinse in warm water, and allow to dry or pop it right into the pre-mordant bath.
Pre-Mordanting
I always pre-mordant my yarn – as opposed to throwing my mordant in with the dye all at the same time. I like to have a selection of yarns I can use ready to go, and I followed the sage advice of many dyers that are much more experienced than me. Breaking it down into steps, making sure the yarn gets the most even and thorough saturation of mordant (and then dye) as possible seemed like very good advice, so I always follow it. To pre-mordant:
-
1. Soak your yarn to be mordanted. I leave it in just plain water for approximately 30 mins to make sure it’s completely saturated. This will make sure your mordant is evenly applied.
2. Fill your pot with water and bring to a boil (I use enamel coated, but stainless steel is also an excellent option).
3. Once boiling, add 10-15% WOF (weight of fibre) of alum and let dissolve completely.
4. Reduce to a simmer (water temperature should be about 80-85C, you do not want the water boiling), and put in your fibre.
5. Allow your fibre to simmer for approximately 1 hour, moving it gently 2-3 times to make sure all surfaces of the yarn get exposed.
6. After an hour, remove your fibre, allow it to cool, and rinse in warm water (I know some people don’t do the rinse, I’ll be experimenting myself with that later!).
7. Hang to dry, and mark down somewhere what you’ve pre-mordanted. Seriously, I learned very quickly that I just didn’t remember later on.
Dyeing
This is where it gets a bit muddier, because there’s no set WOF, or method to use. It’s all about what you want your final colour to be. This will be a very generalized step-by-step guide. If you’re using an extract rather than plant matter, skip to step 4.
-
1. Fill your dye vat with plant matter based on your WOF and boil for approximately 60-90 mins (or until you see the colour all extracted).
2. Remove from heat, and allow the plant matter to sit overnight in the pot.
3. Next day, remove the plant matter.
4. If using extract, add directly to the dye bath. Heat water to a gentle simmer – about 85C.
5. Pre-soak your yarn for approximately 30 mins to make sure it’s saturated.
6. Place your fibre into the dye bath and let simmer for approximately 60-90 mins (or until colour you desire has been achieved).
7. Once you have the colour you want, remove your fibre and let cool. Rinse in luke warm water until the water runs clear.
8. Hang to dry (out of direct sunlight).
One of the things I love about natural dyeing is that it isn’t a quick process – there’s multiple steps, no set way to do it, and it forces you to really slow down and examine what you’re doing. I’d recommend taking lots of notes, especially if you’re a student like me. What worked, what didn’t, and what you might want to try next time.